

April 13, 2026•16 min read
How to Create MrBeast-Style Thumbnails with AI: The Definitive Guide
Discover the anatomy of a viral billboard. Learn how to use Cre8Virals to build YouTube thumbnails that force clicks and dominate the algorithm.
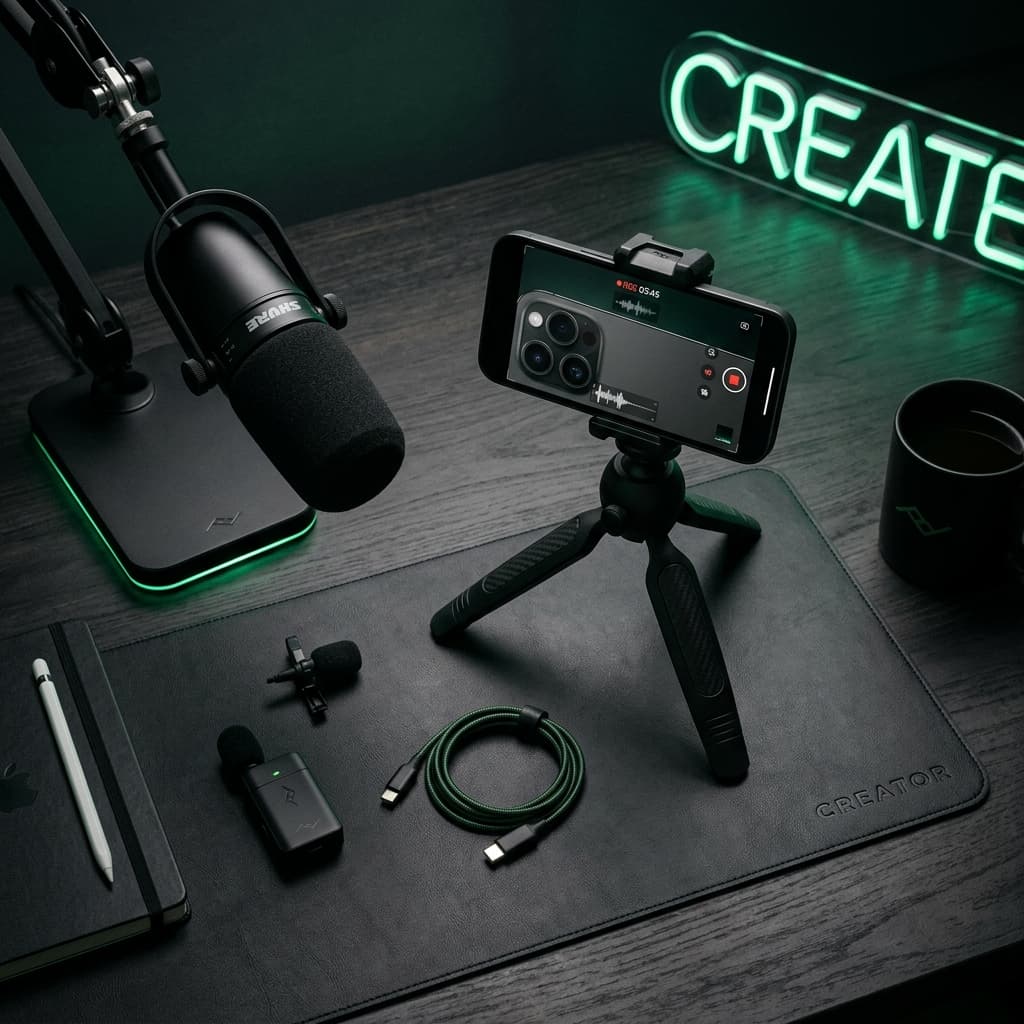
Zero Dollar Start
Use the device in your pocket, master the basics, and let your revenue fund your studio.
Here is the classic path to launch your channel, updated for today's latest YouTube features, news, and creator tools:
One of the biggest myths keeping aspiring creators from publishing their first video is that they need a professional camera, an expensive studio setup, and premium editing software. The reality is that the most powerful tool you need to launch a successful YouTube channel is already in your pocket: your smartphone.
Use What You Have
Modern phones record in beautiful 1080p/4K. Start immediately.
How Giants Began
MrBeast, MKBHD, and PewDiePie all started with zero professional gear.
Earn Then Upgrade
Let your YouTube AdSense pay for your microphones and lighting.
Why Phone Quality Is More Than Enough
Many beginners delay starting because they think they must purchase a high-end mirrorless camera like a Sony a7S III or a Canon EOS R6. This is a trap. If you don't know how to structure a story, write a hook, or edit for retention, a $2,000 camera will just capture low-retention videos in high resolution.
Your smartphone is a production powerhouse: Today's smartphones feature advanced sensor arrays, AI image processing, optical image stabilization, and multi-lens systems. Standard 1080p at 30 frames per second (fps) is the sweet spot for YouTube uploads. The majority of viewers consume YouTube content on mobile screens or laptops, where the difference between a high-end DSLR and a well-lit smartphone video is imperceptible.
Proof That Concept Beats Gear
Every massive creator you watch today started with a setup that would be considered sub-par by modern standards. What made them successful was their determination to learn formatting, engagement, and audience connection rather than waiting for premium tools.
Started with: iPhone 5 & basic laptop
Now uses: RED V-Raptor 8K cinema cameras ($30k+)
Started with: Lousy laptop webcam & built-in mic
Now uses: Robotic camera arms & RED Monstro 8K
Started with: Cheap point-and-shoot camera
Now uses: Custom DSLR rigs & high-end audio setups
When MrBeast started, his videos were blurry and his microphone hummed. Yet, he focused entirely on the curiosity of his titles and the pacing of his challenges. MKBHD sat in his bedroom and reviewed media players with a low-res webcam, speaking clearly and building trust. Their success proves that viewers subscribe to value, personality, and entertainment—not resolution.
The Monetization Path to Pro Equipment
The golden rule of creator finance is to never spend personal money on expensive gear before your channel earns it. Instead, build a self-sustaining ecosystem where your YouTube payouts directly fund your studio upgrades. Let's look at the incremental path to a professional setup.
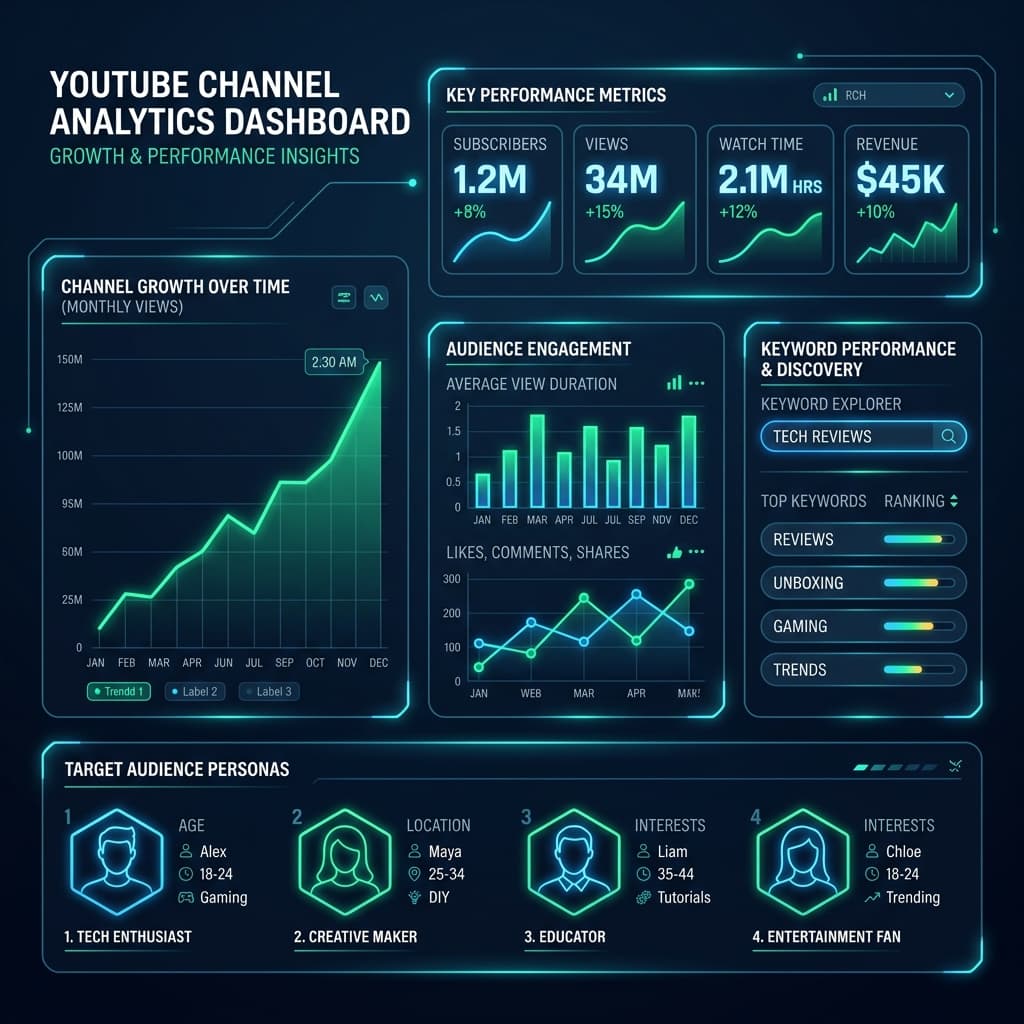
Use your phone for video, film facing a window for free natural lighting, and use free editing apps like CapCut, iMovie, or DaVinci Resolve (free tier) on your computer.
Audio is 50% of the video experience. Viewers will tolerate mediocre video, but they will click away instantly if the audio is echoey or static. Invest in a clip-on lavalier microphone ($20) or a USB mic like the Blue Snowball ($50), and purchase a stable smartphone tripod ($15).
Good lighting makes a cheap camera look expensive, while bad lighting makes an expensive camera look cheap. Reinvest your ad revenue into a set of softbox lights or a dimmable LED ring light ($50-$80) to control your background aesthetics.
Only when your channel is fully paying for itself and has a steady cash flow should you transition to a dedicated mirrorless camera setup (like a Sony ZV-E10 or Canon EOS M50) with an external preamp/mic setup.
The Essential 2026 Checklist
Setting up your channel correctly on day one ensures you don't face indexing or search limitations down the road. Follow this fundamental setup sequence in your YouTube Studio:
Forget guessing about titles, thumbnails, and descriptions. Cre8Virals uses advanced AI to analyze what works in your niche, providing instant templates to help your channel grow fast.
No, absolutely not. Modern smartphones are equipped with high-definition cameras (supporting 1080p and 4K) that are more than capable of producing professional-grade content. In fact, starting with your phone allows you to focus on storytelling and pacing without being overwhelmed by technical gear settings.
MrBeast (Jimmy Donaldson) started by recording videos on a low-end phone and a cheap laptop in his bedroom. His early videos had poor audio quality and standard definition video, but his focus on unique concepts, high-energy delivery, and persistent uploading eventually built his massive audience.
You should only upgrade your equipment once your channel starts generating revenue (from YouTube AdSense, sponsorships, or affiliates). Use your first payouts to reinvest in high-impact areas: first a high-quality external microphone (audio is 50% of the video experience), then lighting (softboxes or ring lights), and finally a dedicated mirrorless camera.
Typically, recording in 4K drains a phone battery in 1 to 2 hours and can cause the device to warm up. It is recommended to record in 1080p at 30fps or 60fps when starting out, as it saves storage space, keeps your phone cool, and is perfectly suitable for YouTube viewer consumption.
Discover the anatomy of a viral billboard. Learn how to use Cre8Virals to build YouTube thumbnails that force clicks and dominate the algorithm.
Discover the exact strategies top creators are using to leverage artificial intelligence for viral growth.

Master the data-driven framework for YouTube metadata. Learn the click-through psychology of curiosity-gap titles, SEO structure for descriptions, and tag grouping strategies to drive massive search and suggested traffic.